Genie GIT-1 Garage Door Remote Troubleshooting Tips
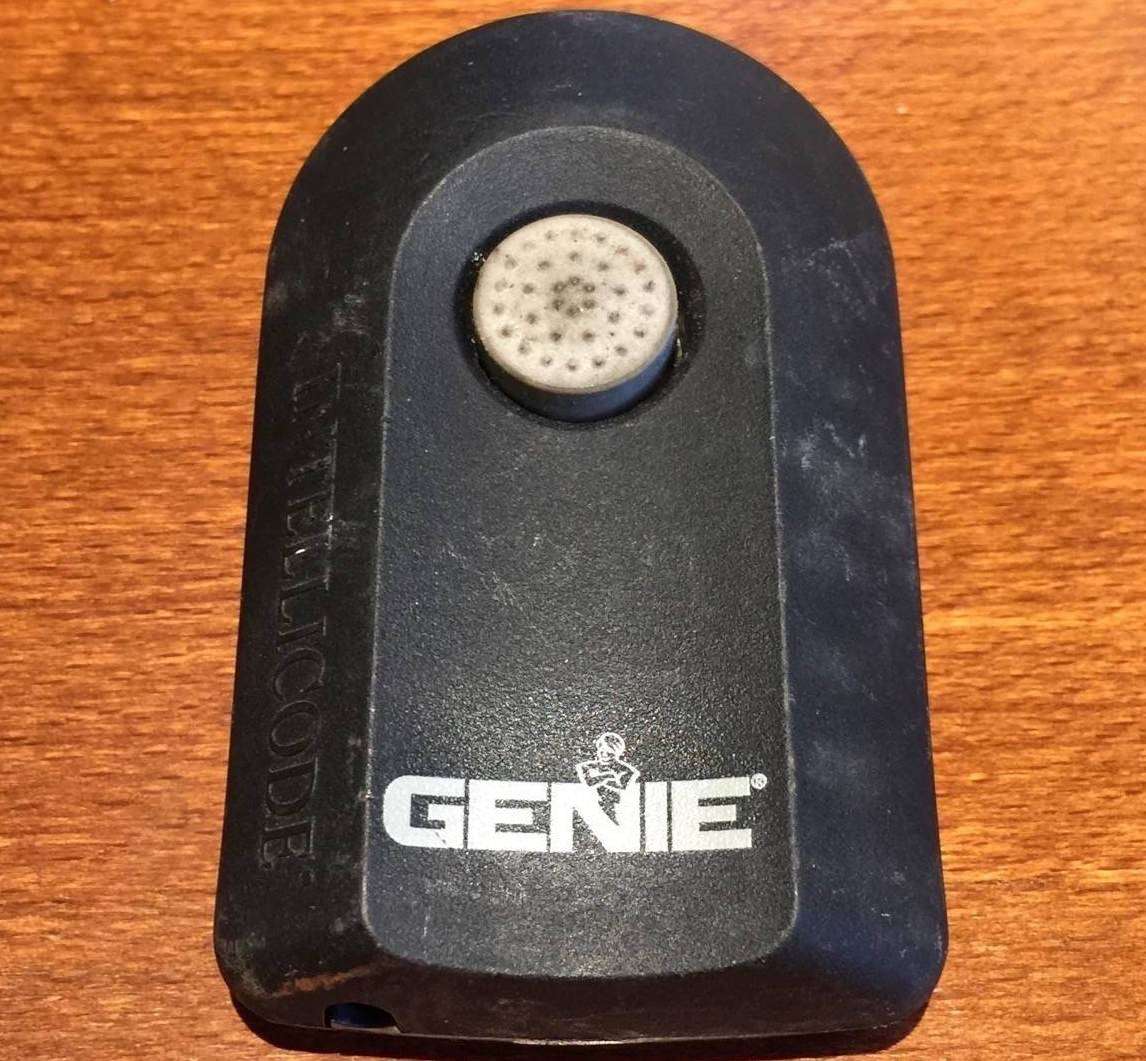
The Genie bullet remote comes in several configurations which include the GIT-1 single button, GIT-2 two button and the GIT-3 three button. This model of remote was commonly used on many different models of Genie garage door openers.
The remote was nicknamed the “bullet remote” due to its rounded top. This article will cover tips to help you diagnose common issues we see with this particular style of Genie automatic garage door opener remote.
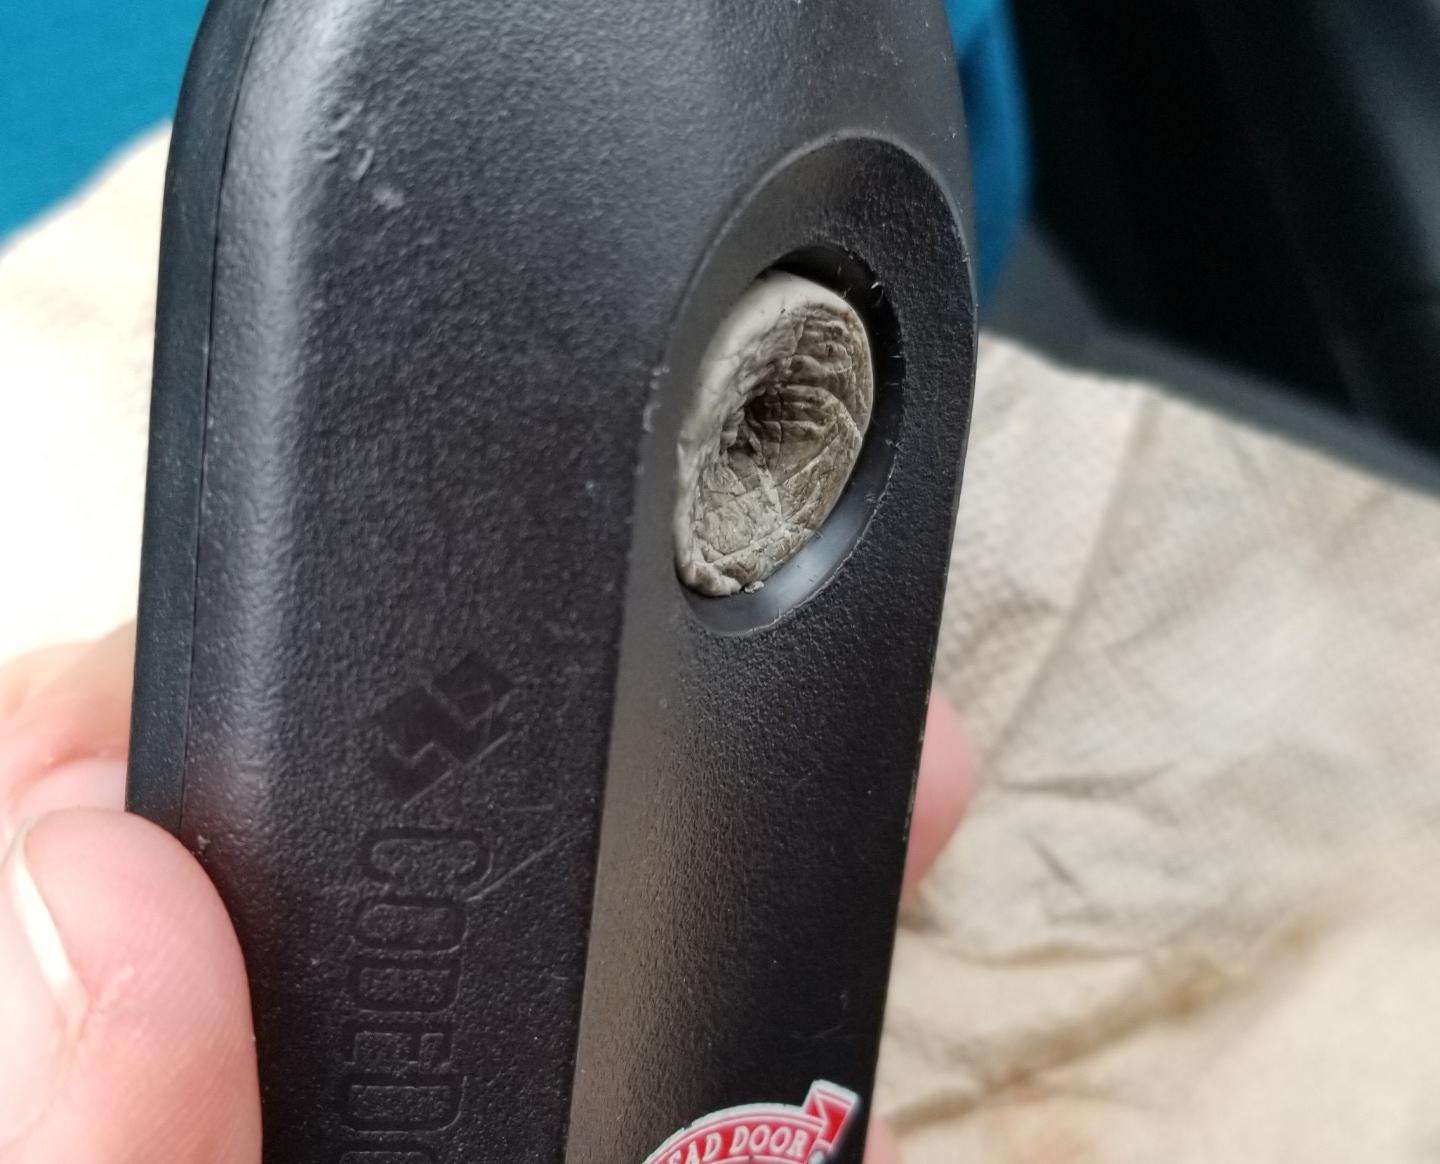
Locate Battery Compartment
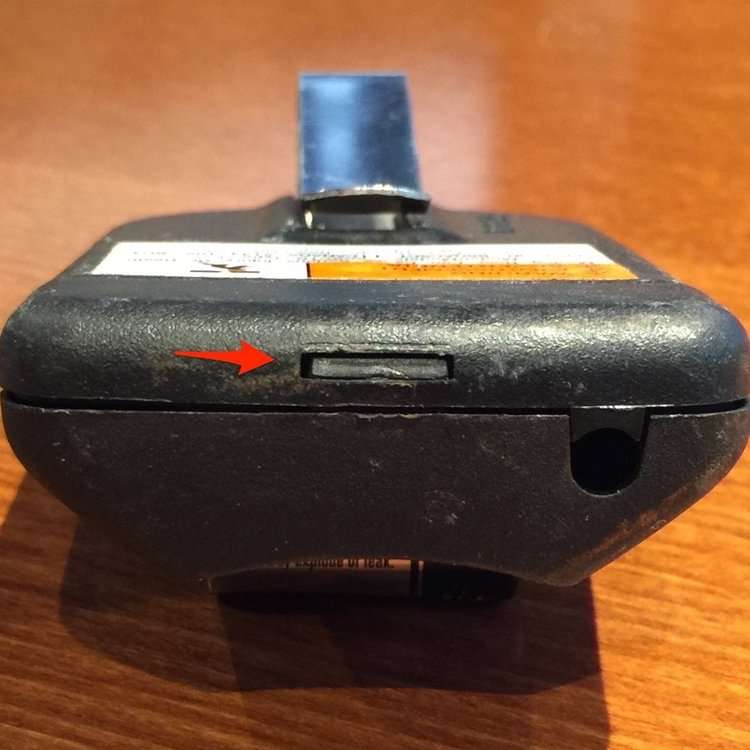
Before we get started with troubleshooting, you must first find the battery compartment door. Flip your remote upside down and look at the bottom. There is a small indention you can push in with your finger nail, coin or small screwdriver.
Push this in while pulling the door up, and you will now have access to the battery. Most of the troubleshooting we discuss in this article will take place in the battery compartment.
Check Battery Orientation
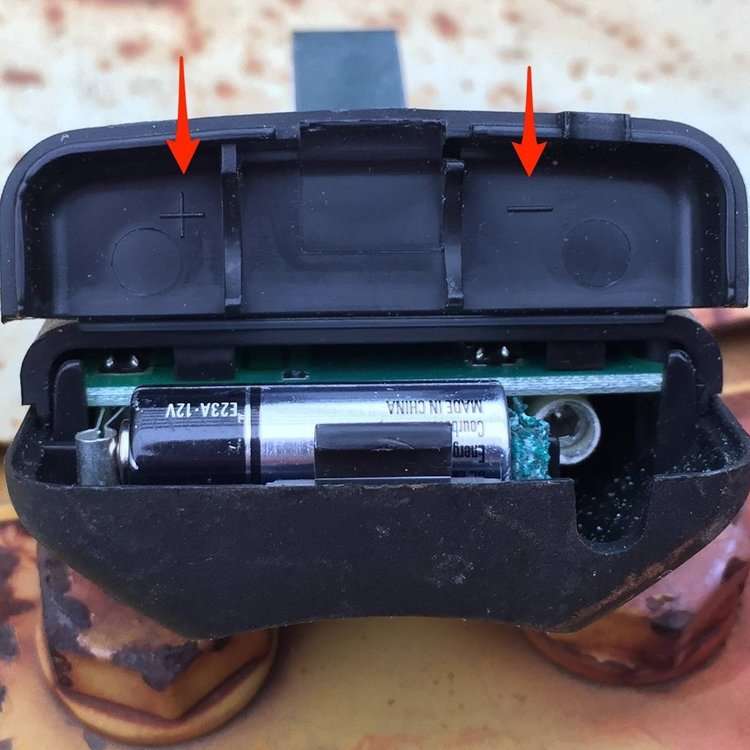
One of the most common mistakes we see is the battery installed incorrectly. The inside of the battery cover has a “+” and “-“ showing which way the battery is supposed to be installed. Check for proper orientation to make sure you have the battery installed correctly. If not, remove the battery, flip it over and reinstall. Your remote should now work properly.
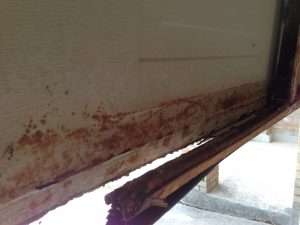
Corrosion on Battery Contacts
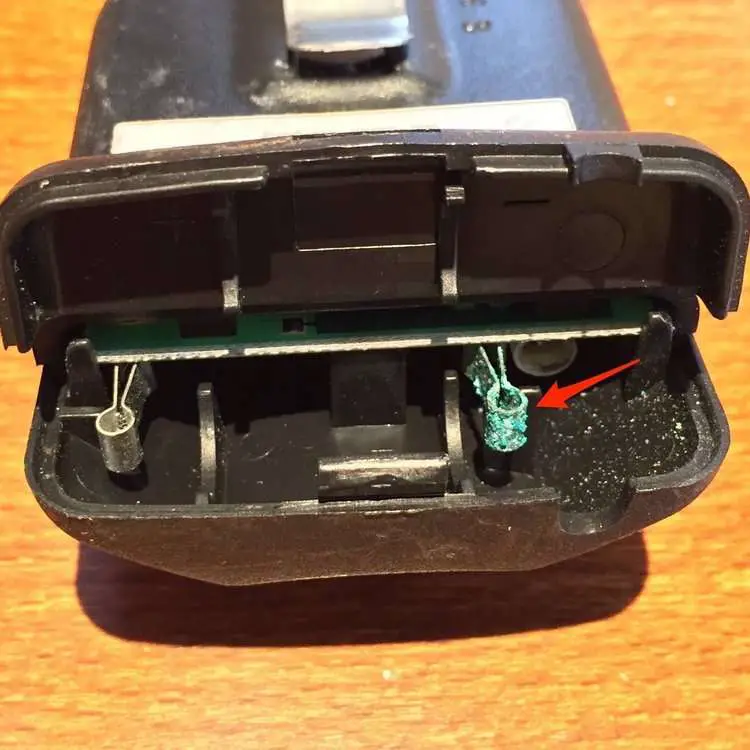
Corrosion has always been an issue with the Genie bullet remote. If you open your battery compartment and see corrosion on the battery contacts, you will need to scrape this off with a small flat head screwdriver or razor blade. This corrosion will prevent the battery from making a good connection with the contacts, therefore rendering the remote unusable.
Pinch Battery Contacts Together
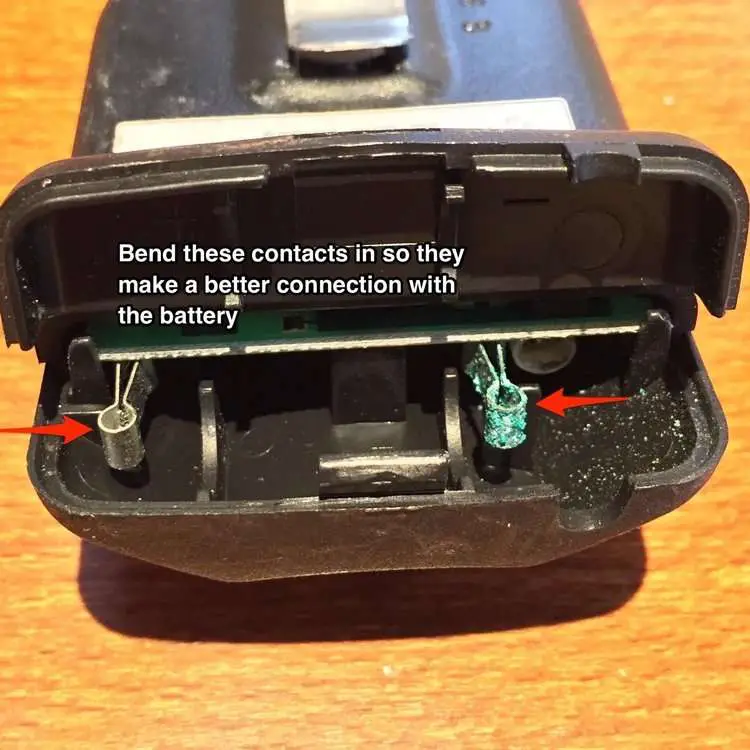
After cleaning the battery contacts, try bending them inwards, so they make a good connection with the battery. The contacts in the Genie remote can spread out over time, which causes the battery to not make a good connection.
You can use your finger or a small tool to bend them slightly inward, just enough to put pressure on the ends of the battery. Cleaning and adjusting the battery contacts will usually solve most intermittent problems we see with the Genie GTI remote.
Replace the Battery
If you tried all the tips above, and your remote still doesn’t work, try replacing the battery. The A23 battery is the correct size for this model of Genie remote. If you have installed a new battery and the remote won’t activate your opener, try another battery.
We have been on many service calls where the customer had replaced the battery with a new one, and it wouldn’t work. We install a new battery off our service truck and the remote starts working. I’m not really sure why this is, but it does happen more than you would think.
Buttons Will Get Spongy Over Time
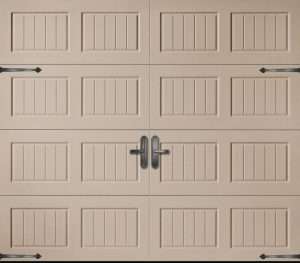
The Genie bullet remote buttons can get a little spongy over time. The button will start to break down during use and will no longer activate your automatic opener when pressed. You will notice when the button is wearing out because it won’t have any resistance. The button will collapse when pressed. Your only option at that point is to replace the remote. The Genie G3T-R remote featured below is a good option for Genie owners.
Programming Genie Remote to Opener
Genie remotes will sometimes lose their programming when the battery is replaced. You will then have to reprogram it to your garage door opener. The first thing you need to locate is the learn button on the genie opener motor head. When you locate the learn button, press and release it. Your Genie opener is now in program mode and the red light should be blinking.
Pick up your remote and press the button you want programmed three times slowly. The blinking red light on the garage door opener will go solid, then go out, and then on the third click the motor should take off running. Your Genie remote is now programmed.
Other Types of Garage Door Remotes
These tips apply to all makes and models of remotes that have similar characteristics to the Genie bullet remote. Battery contact issues due to corrosion or a bad connection are common in all types of remotes including gates operators, commercial access openers, and residential garage door openers.
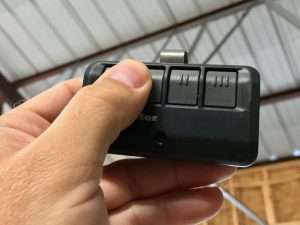
If you need a new universal remote, try the full size LiftMaster Universal 380UT remote or the LiftMaster 374UT keychain remote. They program to most garage door openers and have been known to be very reliable. They feature two buttons, and you can program two different brands of garage door openers to the remote.
For example, if you have a Genie opener and a LiftMaster opener in your garage, you can program the Genie to the first button and the LiftMaster to the second. This eliminates having to carry two remotes in your vehicle or on your motorcycle.
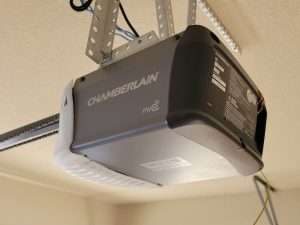
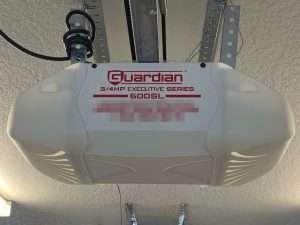
The brands we have found that DO NOT work are the Marantec and Guardian openers. It WILL WORK with Genie, Overhead Door, LiftMaster, Chamberlain, Sears Craftsman, and Linear brand garage door openers.